
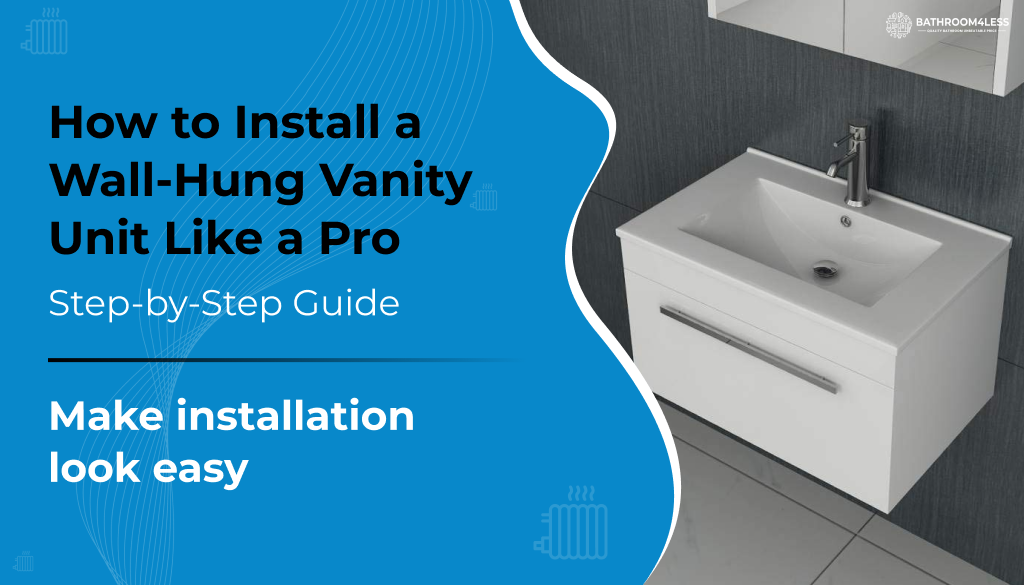
If a fresh, contemporary look is what you're after for your bathroom, you simply can't go wrong with a wall-mounted vanity unit. These units are design heroes: they save significant floor space, simplify your cleaning routine, and deliver that desirable modern finish. You don't necessarily need a professional to fit it either! If you have the correct tools and a little bit of patience, you can manage the installation yourself. This guide helps you fit wall hung vanity units, vanity units, and bathroom vanity units with confidence.
Step 1- Confirm Wall Suitability and Prepare Materials
It's crucial to check your wall's structure before mounting a vanity. Since these wall-hung units (especially with the basin attached) can be heavy, a solid brick or block wall is ideal. If you have a plasterboard wall, you must plan to reinforce that section with plywood or timber before securing the mounting brackets.
You’ll need the following tools and materials:
• Drill with suitable bits
• Spirit level
• Stud detector
• Tape measure
• Pencil
• Adjustable wrench
• Silicone sealant and gun
• Mounting brackets and bolts (usually supplied)
• Screwdrivers
• Safety gloves and goggles
Having everything ready before you begin will save time and help you work more efficiently when installing a vanity unit with basin or a standalone wall hung basin.
Step 2- Turn Off Water and Remove Vanity
Before you start replacing your vanity, turn off the main water supply and run the taps to empty any remaining water from the pipes. Keep a towel handy for any drips, then carefully disconnect the supply lines and waste pipe using a wrench. Once the old vanity is removed, give the wall a good clean and scrape away any leftover sealant or glue. This ensures your new wall hung vanity unit sits perfectly and looks polished.
Step 3- Set and Mark Mounting Points
Getting your wall hung vanity units perfectly level starts with accurate measurements. Choose a height that suits both you and your bathroom layout. Most basins sit between 850 and 900 millimeters from the floor, but you can adjust this to suit your comfort or existing plumbing.
Use a spirit level and pencil to mark the top line where the basin will sit, the exact positions for the wall brackets, and the water supply and waste pipe points.
Double-check everything before you start drilling. Remember the golden rule: measure twice and drill once. Taking your time at this stage makes all the difference for a neat and secure installation.

Step 4- Secure the Brackets to the Wall
Once your marks are ready, install the wall brackets. These will carry the entire weight of the vanity units, so make sure they are anchored into solid material, not just plaster.
Drill the holes, insert wall plugs where needed, and screw the brackets firmly into position. Check that they are perfectly level before tightening the screws. Even a slight tilt can affect how the wall hung basin drains and how the vanity unit with basin sits.
If you’re working with a stud wall, ensure the screws are fixed into the timber support or reinforced plywood behind the plasterboard.
Step 5- Hang the Vanity Unit
When the brackets are secure, carefully lift the wall-hung vanity unit onto them. It’s best to have another person help you at this stage to ensure it stays level while you adjust it.
Once the vanity is in place, use a spirit level again to confirm that it’s straight. Most vanity units allow for small adjustments within the brackets, so make any necessary tweaks before tightening all fixings.
Step back and check that the vanity looks balanced and lines up neatly with your tiles, mirror, or lighting. Visual alignment is just as important as technical accuracy for a professional finish.

Step 6- Install Basin and Connect Supplies
With the unit secured, you can now fit the wall hung basin. Apply a thin, even line of silicone along the top edges of the vanity where the basin will rest. Carefully position the basin and press it down gently to form a good seal. Clean away any excess sealant while it’s still wet.
Next, fit the tap, waste, and water connections following the manufacturer’s instructions. Use PTFE tape on the threaded sections to prevent leaks. Connect the hot and cold water lines, then fit the waste trap securely underneath.
Once everything is connected, turn the water supply back on and test the taps. Check all joints and fittings for leaks and make any necessary adjustments.
Step 7- Complete the Edge Finishing
To protect your new vanity unit with basin from moisture damage, seal all edges where the basin meets the wall using waterproof bathroom silicone. A clean seal not only prevents water ingress but also gives the installation a tidy, finished look.
Use a silicone finishing tool or your finger dipped in soapy water to smooth the line evenly. Allow the sealant to cure for at least 24 hours before using the vanity or running water directly onto the area.
Step 8- Do Final Checks and Clean
Once the sealant has set, wipe down the unit and basin with a soft cloth to remove dust and fingerprints. Open and close the drawers or doors to ensure they move smoothly and align properly.
If your vanity has integrated lighting or a power socket, ensure a qualified electrician connects them in accordance with UK safety regulations. Never attempt to wire electrical components yourself unless you are certified to do so.
Finally, step back and admire your work. A correctly installed wall hung vanity unit should sit firmly on the wall, align neatly with your tiles, and give your bathroom a fresh, open feel.
Ready to upgrade?
Browse our full range of wall-hung vanity units, wall-hung basin units, wall-hung vanity units with basin, vanity units with basin, bathroom vanity units, affordable bathroom furniture, and bathroom furniture UK at Bathroom4Less.
Find great styles, competitive prices and fast delivery. Shop now at Bathroom4Less to pick the perfect vanity units for your bathroom.


